

Essential Tools for Vintage Radio Restoration Projects
Last Updated: November 20, 2026
Quick Summary
Essential tools for vintage radio restoration include a temperature-controlled soldering station, a reliable digital multimeter, basic hand tools, and an isolation transformer for safe power-up. Start with these must-have items, then add diagnostic and specialist test gear as your projects require it.
- Buy a temperature-controlled soldering station first; temperature control prevents lifting or burning old boards.
- Choose a digital multimeter with a 10 A current range and diode/continuity mode.
- Use an isolation transformer and bring unknown sets up slowly through a variac or dim-bulb tester.
- Discharge the main filter capacitor through a 10 kΩ, 5 W resistor and re-measure before touching the chassis.
- Buy Tier 1 tools outright, then add Tier 2 and Tier 3 gear only when projects demand it.
Table of Contents
- Why the Right Tools Matter in Vintage Radio Restoration
- Starter Kit vs. Advanced Setup: Tools by Budget and Restoration Stage
- Soldering Irons, Stations and Solder
- Hand Tools: Pliers, Cutters, Strippers and Screwdrivers
- Test Equipment for Vintage Radio Work: Multimeters, Oscilloscopes and Signal Tools
- How to Test Vintage Radio Components Safely and Accurately
- Vintage Radio Restoration Safety: High-Voltage Tube Sets and Workshop Habits
- Buying Used Equipment and Choosing Where to Start Your Toolkit
- Frequently Asked Questions
Why the Right Tools Matter in Vintage Radio Restoration
Vintage radio restoration is a craft that rewards patience and punishes guesswork. Brass-screw mistakes, cracked solder joints and a single wrong replacement part can turn a weekend project into a months-long headache. The right tools prevent most of that damage before it starts.
Restoring a set is largely a matter of diagnosis before repair. A tester that reads voltage accurately tells you which stage has failed, and a clean soldering station keeps good parts from being damaged during removal.
Good tools also protect you. Vintage sets often run on higher voltages than modern electronics, and aging insulation can behave unpredictably. Safe, well-chosen equipment reduces the chance of an accident while you work.
Watch out: Never assume a vintage chassis is safe to power up because it looks clean. Old filter capacitors can hold a dangerous charge long after the set is unplugged.
Starter Kit vs. Advanced Setup: Tools by Budget and Restoration Stage
Most restorers should buy in tiers rather than in one shopping spree. The useful split is not beginner versus expert but must-have versus useful upgrade versus specialist, tied to the stage of work you are actually doing. A restorer recapping a single tabletop set needs a very different bench from someone aligning a console receiver's RF and IF stages.
Tier 1, Must-have (inspection and basic repair). Temperature-controlled soldering station with a fine chisel or conical tip, 60/40 or lead-free rosin-core solder sized for electronics, desoldering wick and a solder sucker, a digital multimeter with a 10 A current range and a diode/continuity mode, long-nose pliers, diagonal cutters, a wire stripper, insulated screwdrivers, and an isolation transformer. This tier covers inspection, capacitor and resistor replacement, and basic continuity and voltage checks.
Tier 2, Useful upgrade (diagnosis and repeatable work). A soldering station with interchangeable tips and a hot-air or desoldering gun, an ESR meter or capacitor tester, a variable bench supply with current limiting, a signal tracer or audio generator, a set of insulated test leads with clips, and a dim-bulb tester or variac for controlled power-up. This tier is where restoration stops being part-swapping and becomes diagnosis.
Tier 3, Specialist (alignment and verification). An oscilloscope (a 20 MHz analog or a basic digital scope is enough for most AM/FM work), an RF signal generator with calibrated output, a tube tester, and dedicated audio test gear. These instruments are expensive and only earn their bench space once you are aligning sets or verifying performance after repair. Many restorers defer the tube tester and scope for years and borrow or buy used when a specific project demands them.
Match purchases to the work in front of you rather than to a wish list. A common pattern is to buy Tier 1 outright, add Tier 2 items one at a time as projects expose a need, and acquire Tier 3 only when a set requires alignment or a tube is suspect. Buying used test gear is a common way to stretch a budget, though it helps to test it against a known-good reference before relying on it.
Watch out: A cheap unregulated soldering iron and a no-name multimeter are false economies, they are the two tools whose inaccuracy causes the most damage to old circuit boards and the most misdiagnosis.
Soldering Irons, Stations and Solder
A soldering station is the single most important tool purchase in radio work. Temperature control matters because old circuit boards and terminals can lift or burn at the wrong heat. Choose a station with a stable tip temperature, and keep a set of tips in different sizes for chassis work and fine component leads.
Use a good-quality rosin-core solder sized for electronics work. Pair it with desoldering wick and a solder sucker so you can remove components without damaging the pads. Clean tips often, since a dirty tip transfers heat poorly and makes clean joints harder to achieve.
Hand Tools: Pliers, Cutters, Strippers and Screwdrivers
Hand tools do most of the mechanical work in a restoration. Needle-nose and long-nose pliers reach into tight chassis spaces. Wire cutters and a wire stripper handle leads and hookup wire. Insulated screwdrivers, plus a set of nut drivers, cover the hardware found on most vintage chassis.
Test Equipment for Vintage Radio Work: Multimeters, Oscilloscopes and Signal Tools
Testing separates guesswork from diagnosis. A digital multimeter measures voltage, current and resistance, and it should be the first instrument you own. An ESR meter helps spot failing electrolytic capacitors that still look fine. A tube tester checks vacuum tube condition, while an oscilloscope shows signal shape in audio and RF stages. A signal generator lets you inject a known test signal to trace faults stage by stage.
Test equipment has limits, so learn what each instrument can and cannot tell you. A tube that tests well may still fail under load. Calibrate or cross-check meters regularly, and treat readings as one piece of evidence rather than a final verdict.
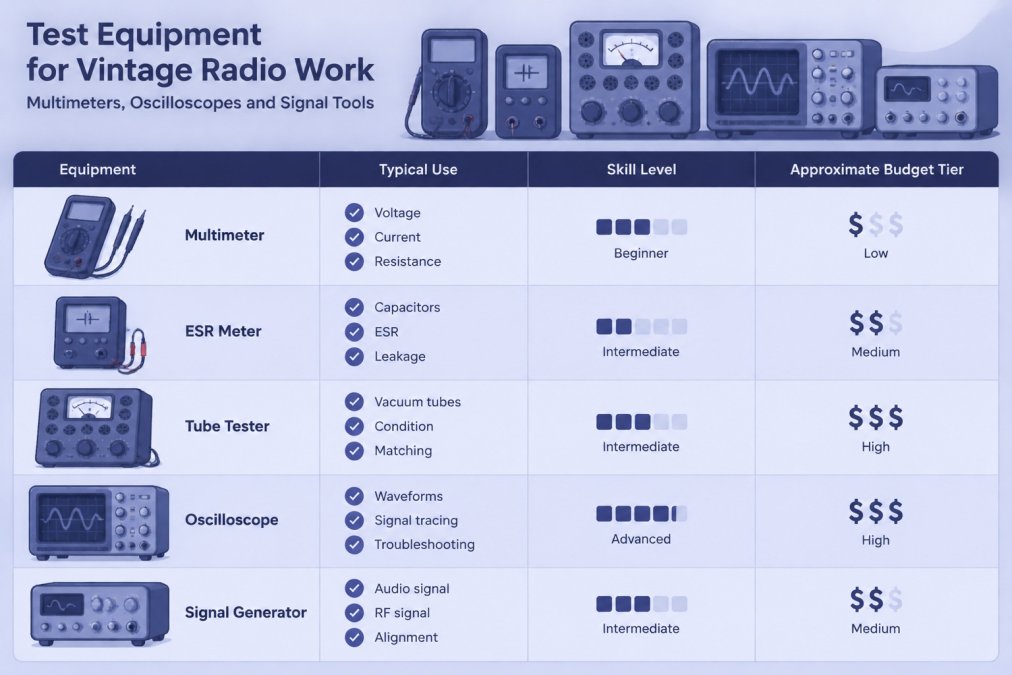
The article names several test instruments and what each one does for a restoration.
| Instrument | Used for | Key limit |
|---|---|---|
| Digital multimeter | Voltage, current and resistance | First instrument to own |
| ESR meter | Spotting failing electrolytic capacitors | Catches faults that look fine |
| Tube tester | Checking vacuum tube condition | A passing tube may fail under load |
| Oscilloscope | Showing signal shape in audio and RF stages | Reveals waveform, not component health |
| Signal generator | Injecting a known test signal to trace faults | Used stage by stage |
How to Test Vintage Radio Components Safely and Accurately
Test components in a set order: power supply first, then the signal path. Start with visual inspection for swollen capacitors, scorched resistors and cracked solder joints. Discharge large capacitors before touching them, and verify the discharge with your meter.
Power the set up gradually through an isolation transformer and, where available, a variable supply. This lets you watch for excessive current draw before it damages parts. Use test leads with insulated clips, and keep one hand clear of the chassis when the set is energized.
A common mistake is replacing parts without measuring them first. Measure, record your readings, and compare them against the expected values for that circuit.
Vintage Radio Restoration Safety: High-Voltage Tube Sets and Workshop Habits
Tube radios operate at voltages that can be lethal, and the danger does not end when the set is unplugged. The B+ supply in many sets runs well above household levels, and the filter capacitors in the power supply can hold a charge long after the cord is pulled. Treat every chassis as live until you have proven otherwise with a meter.
Stored charge and discharge procedure. Before touching the underside of a chassis, unplug the set, then measure the main filter capacitor terminals with your multimeter on the DC voltage range. If voltage is present, discharge through a resistor, a 10 kΩ, 5 W resistor with insulated leads is a common choice, rather than shorting the terminals with a screwdriver, which can damage the capacitor and startle you with a spark.
Isolation and current limiting. Use an isolation transformer for any powered work on an AC/DC set or any chassis with a hot chassis design; it separates the set from the mains ground reference so a single fault does not put line voltage on the chassis you are holding. Bring unknown sets up slowly through a variac or a dim-bulb tester so excessive current draw shows up before it damages a transformer or rectifier. A dim bulb that stays bright is a sign of a short, not a sign to keep going.
Measurement discipline. Use test leads with insulated clips so you are not holding a probe against a live terminal, and keep one hand clear of the chassis when the set is energized. Work with the set on an insulated surface, remove rings and watches, and never work alone on energized equipment. Verify that your meter and leads are rated for the voltage you are measuring before you connect them.
Workshop habits. Keep a clear bench, label removed parts, and photograph wiring before you disturb it. Wear eye protection when soldering and desoldering, since solder can spit, and ventilate the room because flux fumes and lead-based solder are unpleasant to breathe. Wash hands after handling lead solder. The U.S. Consumer Product Safety Commission publishes general electrical safety guidance that applies to bench work: CPSC electrical safety guidance.
Watch out: A set that powers up and plays is not proof that it is safe, leaky coupling capacitors can put B+ on a control grid or the chassis, so check for voltage on the chassis before you assume the set is sound.
Buying Used Equipment and Choosing Where to Start Your Toolkit
Used test equipment can deliver strong value, especially for vintage radio work. Inspect used gear for damaged leads, cracked housings and missing fuses before buying. Ask whether it has been calibrated, and test it against a known reference when you can.
When choosing where to start, buy the tools that address your current project first. Begin with a soldering station, a multimeter and basic hand tools, then add test equipment as your restorations grow more ambitious. Scott Radio & Electronics specializes in vintage CB radio parts, including the Lafayette Comstat 25B Can Capacitor, Browning Mark III Golden Eagle Variable Tuning Capacitor and the Siltronix FS-07 Wattmeter/CB Tester, so you can source replacement components for your radio.
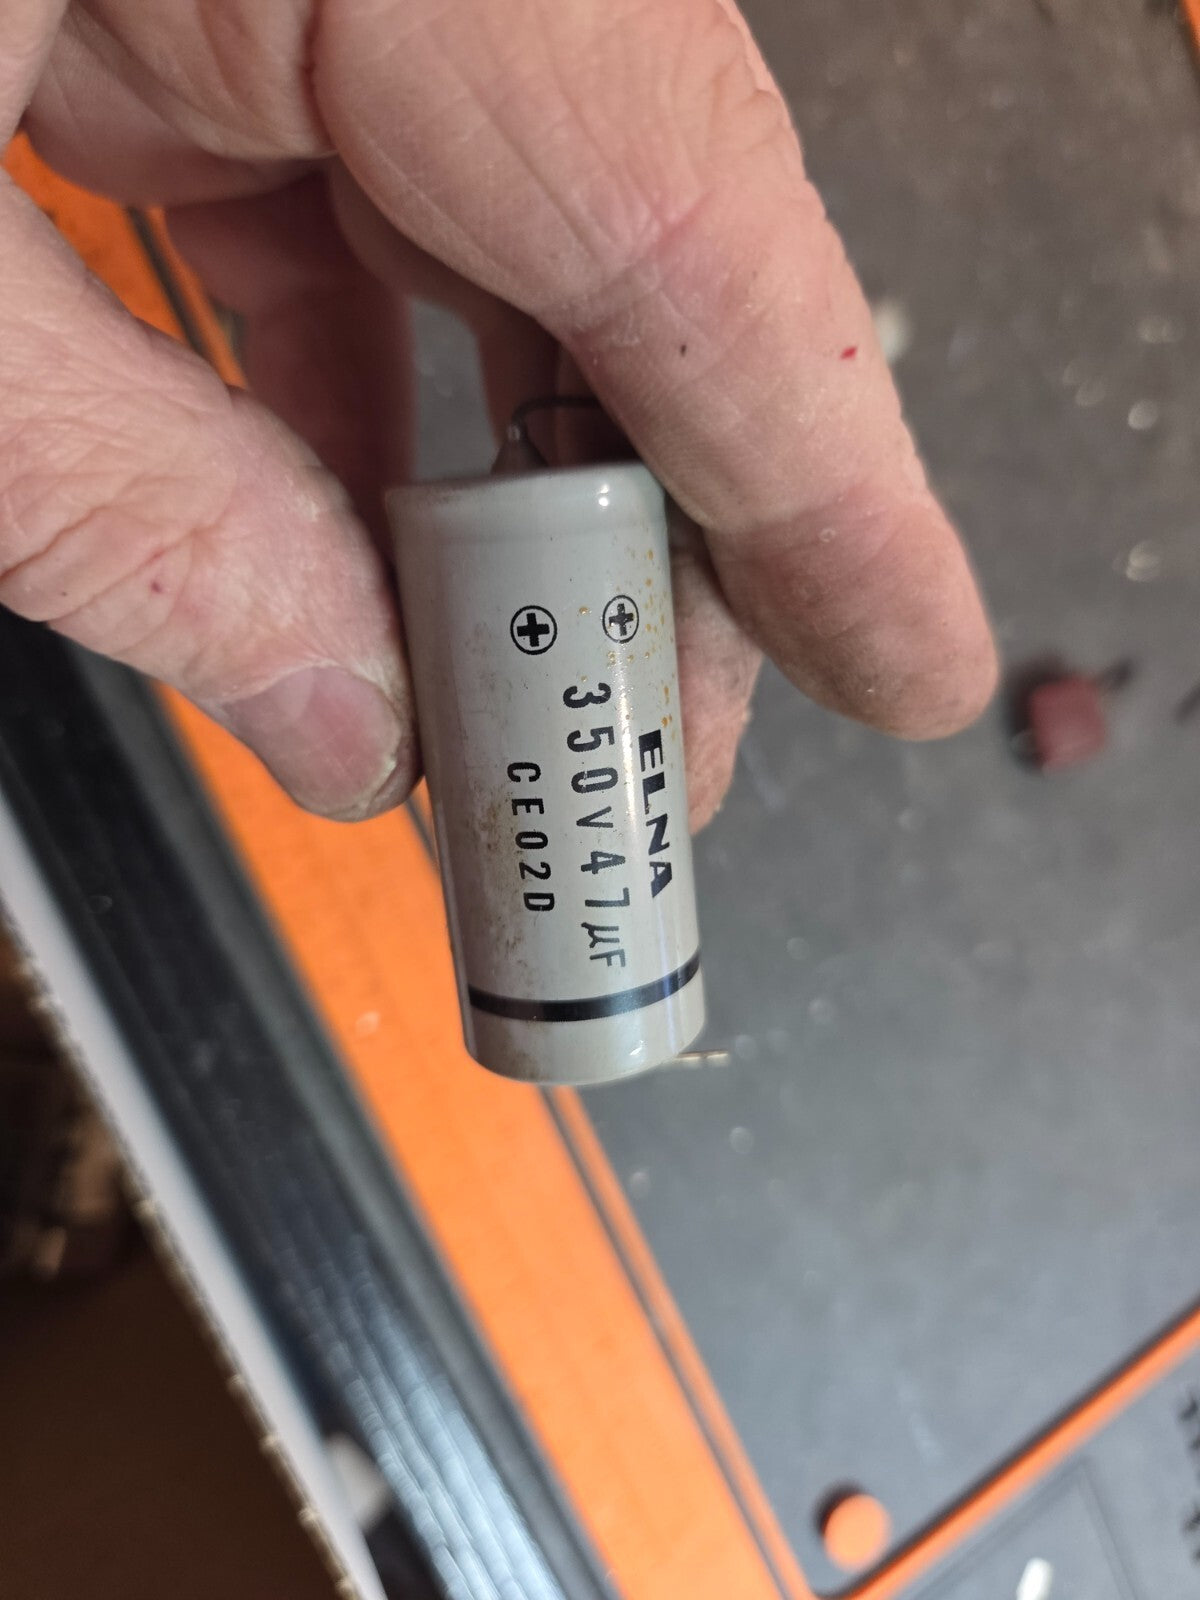
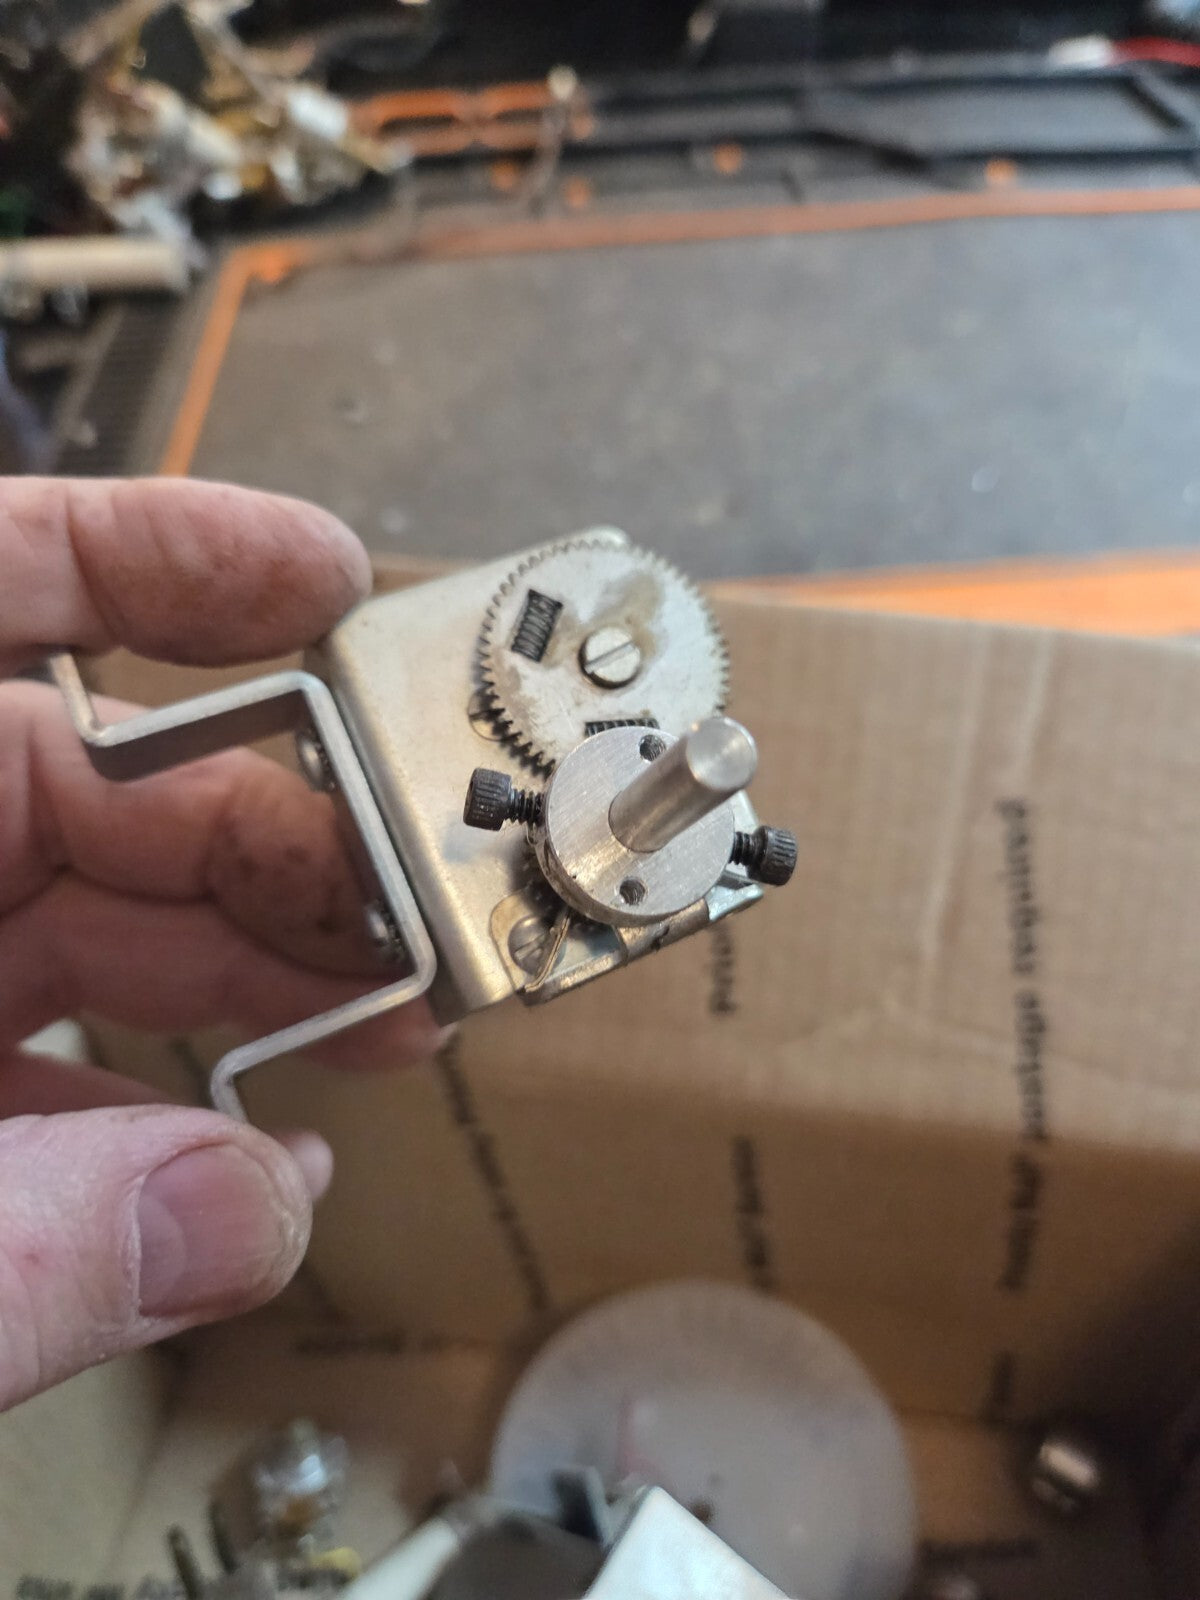
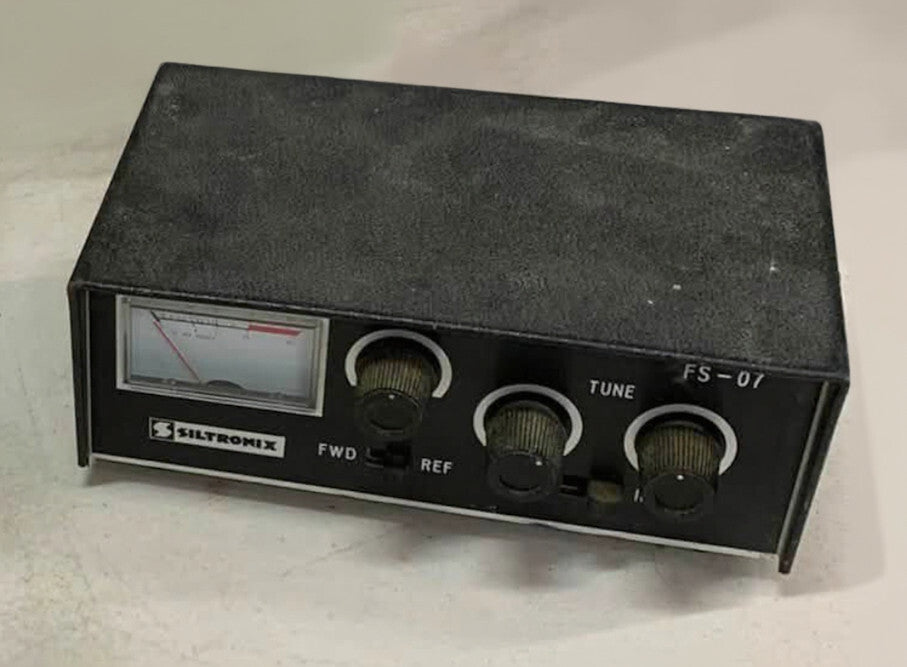
Our founder, Jack Scott, personally oversees the customer experience, so questions about matching parts to your radio are welcome before you order.
Frequently Asked Questions
How much does it cost to restore a vintage radio?
Costs depend mostly on what the radio needs. A basic cleaning, recapping and alignment on a tube set can be done with a starter kit and a few replacement parts, while severely damaged cabinets, missing dials or a failed output transformer add cost quickly. Many restorers budget for consumables first: capacitors, resistors, and any cloth or wire the original used. Buying the hand tools and a basic multimeter once spreads that cost across many projects.
What test equipment is essential for vintage radio restoration?
A digital multimeter with a range suitable for B+ voltage measurement is the essential starting point, along with a variable isolation transformer and a means of checking capacitors, such as an ESR meter or capacitor analyzer. A tube tester helps evaluate vacuum tubes, though its readings are a guide rather than a guarantee. An oscilloscope and audio signal generator become valuable once you move into alignment and troubleshooting of amplifier stages, but they are not required for a first project.
How do I safely test vintage radio components?
Power the set through an isolation transformer, discharge the filter capacitors before touching internal parts, and keep one hand away from the chassis while energized. Verify voltages with your multimeter before making connections, and use insulated tools and test leads with clip attachments where possible. Never assume a capacitor is discharged because the set was switched off. Work on a non-conductive surface and keep a fire extinguisher nearby.
Are vintage radios worth restoring?
Many are, especially sets with good cabinets, original dials and a known maker or model. Their value to a collector depends on condition, rarity and originality, and a fully restored set often sells for less than the restoration cost if you buy it at market rate. Restoration is most rewarding for radios that matter to you personally, such as a family set or a model you have wanted for years. Start with a set that is inexpensive to acquire so you can learn the tools on it.
